A couple years ago I ditched my full power laptop for the likes of a Netbook. I didn’t want the size and heft of practically a full PC in my backpack, so I went little, and my patience took a beating for it!
I love the little laptop, but I need full power so I don’t go crazy! So I went searching around for a laptop that was really small – some would call this an ultraportable, and a laptop that had plenty of power to get the job done. I also did not want to spend more than $1000!
Enter the Acer Aspire TimelineX. This is one of the smallest laptops that carry the i7 Intel chip. It comes ready to do all the work you want to do, filled to the gills with specs that are on par with any full featured laptop.
One of the best specs with this laptop was the battery life. It is spec’d out to get a full 8 hours of battery life from one charge!
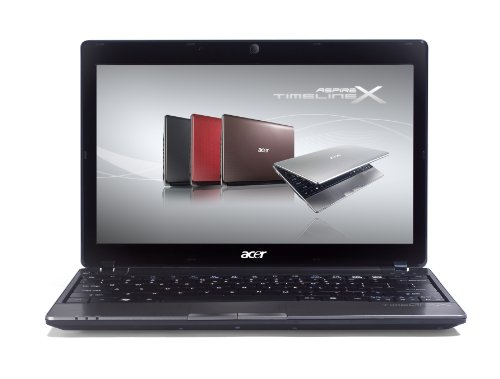
It is sleek and very small with an 11.6 inch screen. This baby is pretty much a netbook sized powerhouse, perfect for those on the go.
All the reviews around the net are totally positive for this laptop. From those ready to buy a 11.6 Mac Airbook, to those looking for a ultra convienient travel laptop. They all rave at the great size and power of this laptop.

It comes with one of the best ultra-portable keyboards around. The keys are nearly full size, and have plenty of space in between. The mouse supports finger and swipe gestures for zooming and navigating, similar to much more expensive laptops.
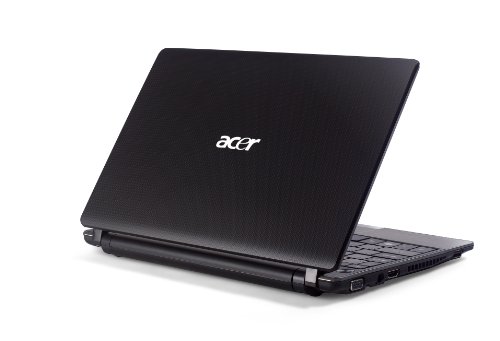
It comes standard with VGA, HDMI, USB and Ethernet ports right on the machine. No need for expensive converter dongles, this laptop is ready to hookup to anything you need.
This has been one of the best deals that I have seen on an I7 Laptop of this size.
If you are in the market to find the smallest i7 laptop for 2011, then look no further than this baby here. It’s small, but packs a powerful punch. The best part is that it will not break the bank!


